
 pin it
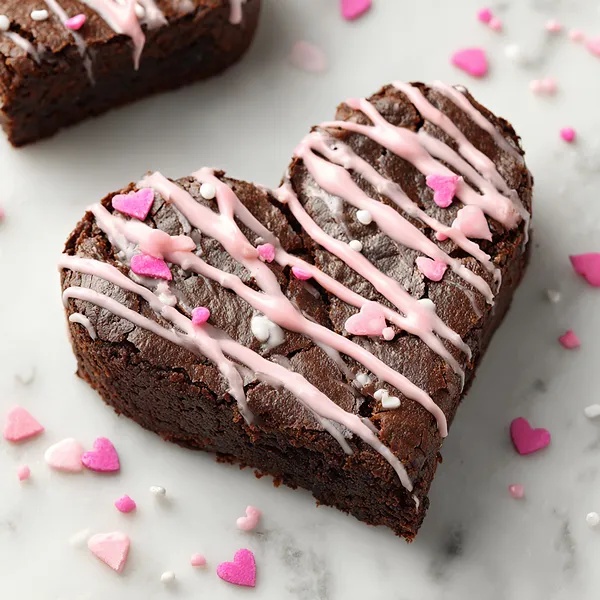
I first discovered the magic of heart-shaped brownies when I was searching for a special Valentine's Day treat that wasn't too complicated. I wanted something that looked impressive but didn't require advanced baking skills. These brownies are exactly that – they start with a classic fudgy brownie base that's rich, chocolatey, and absolutely irresistible. What makes them special is the heart shape and festive decoration. After baking a regular pan of brownies, I let them cool and then use a heart-shaped cookie cutter to create perfect little hearts. The pink candy melt drizzle adds a beautiful pop of color and a sweet, creamy element that complements the deep chocolate flavor. The Valentine's sprinkles are the finishing touch that transforms these from regular brownies into a festive masterpiece. Every time I make them, I'm reminded that sometimes the simplest recipes, with just a little creative presentation, become the most memorable. These brownies have become my go-to for any occasion that calls for a little extra love.
Why I love this recipe
I absolutely love this recipe because it combines simplicity with wow-factor in the best possible way. The brownie base is my tried-and-true recipe that never fails – it's fudgy, rich, and has that perfect crackly top that every brownie lover dreams about. What makes me come back to this recipe time and again is how versatile it is. Sure, it's perfect for Valentine's Day, but I've made these for birthdays, anniversaries, and even just because. The heart shape makes people smile every single time. I also love that this recipe is forgiving – if your hearts aren't perfectly symmetrical or your drizzle is a bit wonky, they still look charming and homemade. There's something therapeutic about decorating each brownie, too. It's like edible art! Plus, the combination of textures – the dense, fudgy brownie with the smooth candy coating and the little crunch from the sprinkles – creates the most satisfying bite. This recipe never fails to impress, and that's why it's earned a permanent spot in my recipe collection.
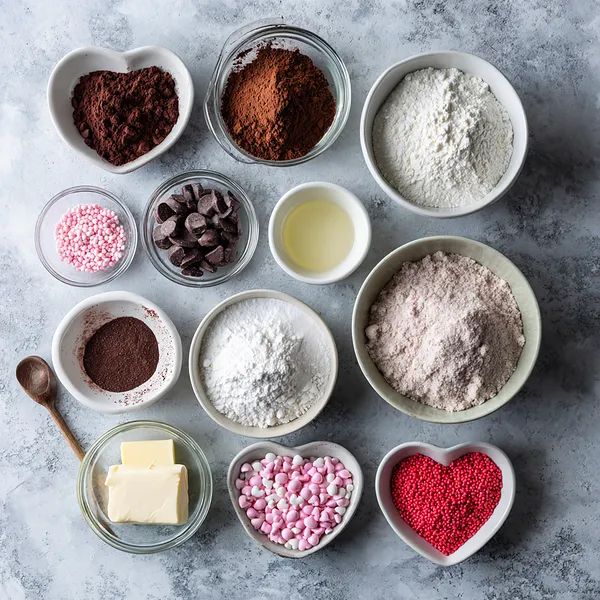
What You Need From Your Kitchen
- Unsalted butter: Melted and used as the base fat for rich, fudgy texture
- Granulated sugar: Sweetens the brownies and helps create that signature crackly top
- Eggs: Bind the ingredients together and add moisture
- Unsweetened cocoa powder: Provides deep, intense chocolate flavor
- All-purpose flour: Gives structure to the brownies
- Pink candy melts: Melted and drizzled for festive decoration
- Valentine's heart sprinkles: Add colorful, festive finishing touches
Let's Make These Together
- Create the brownie base
- Start by preheating your oven and preparing your baking pan with parchment paper. Mix together the melted butter and sugar until smooth, then beat in the eggs one at a time for a rich, glossy batter. The vanilla extract adds that wonderful aromatic touch that makes these brownies smell absolutely heavenly while baking.
- Combine dry ingredients carefully
- Whisk your cocoa powder, flour, and salt together in a separate bowl before folding them into the wet mixture. This ensures even distribution of the dry ingredients and prevents lumps. The key here is not to overmix – you want just enough mixing to combine everything, which keeps your brownies fudgy rather than cakey.
- Bake to perfection
- Pour your batter into the prepared pan and spread it evenly. Bake until just set – the toothpick test should show moist crumbs, not a completely clean toothpick. This is the secret to fudgy brownies! Let them cool completely before attempting to cut them, as warm brownies will crumble and won't hold their shape well.
- Cut and shape with care
- Using a heart-shaped cookie cutter, press firmly into the cooled brownies to create perfect heart shapes. Twist the cutter slightly as you press down to ensure clean edges. You'll have some delicious scraps left over that make perfect snacking material or can be crumbled over ice cream!
- Decorate with flair
- Melt your pink candy melts until smooth and transfer to a piping bag for easy drizzling. Create beautiful zigzag patterns or freestyle designs across each heart-shaped brownie. While the candy coating is still wet, sprinkle on those adorable Valentine's heart decorations. Let everything set completely before serving so the decorations don't smudge.
 pin it
Switch Things Up
I made these brownies last Valentine's Day and honestly, I wasn't sure how the heart shape would turn out. I used a heart-shaped cookie cutter after they cooled, and it worked like a charm! The first time I drizzled the pink candy melts, I was nervous about making them look professional, but I quickly realized that even messy drizzles look adorable. My kids absolutely loved helping with the sprinkles – we went a bit overboard with the decorations, but that's what made them special. The brownies themselves were perfectly fudgy, not cakey at all, which is exactly what I wanted. I've made them three times since then, and each time I experiment with different sprinkle combinations. Sometimes I use all pink and red, other times I throw in some white for contrast. The best part? They taste just as amazing as they look, and that's saying something!
Perfect Pairings
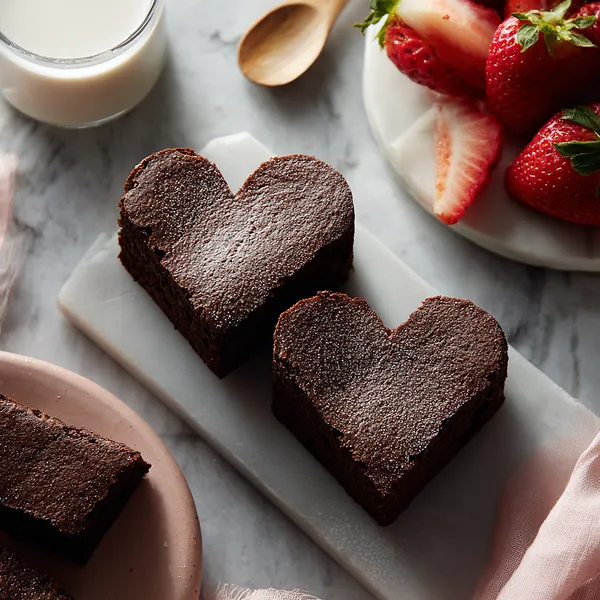
These Heart Shaped Brownies pair beautifully with a cold glass of milk or a rich cup of coffee for the adults. For a truly decadent dessert experience, serve them warm with a scoop of vanilla ice cream melting on top. They also go wonderfully alongside fresh strawberries or raspberries for a Valentine's Day dessert platter. If you're hosting a party, consider pairing them with chocolate-dipped strawberries, pink champagne, or hot chocolate topped with whipped cream. The fudgy chocolate flavor also complements salted caramel sauce drizzled on top or a dollop of fresh whipped cream.
 pin it
Frequently Asked Questions
- → Can I use a different shaped cookie cutter?
Absolutely! While heart shapes are perfect for Valentine's Day, you can use any shaped cookie cutter you like – stars for patriotic holidays, circles for a classic look, or even seasonal shapes like pumpkins or Christmas trees. Just make sure your cutter is at least 2.5-3 inches to get a good-sized brownie.
- → How do I prevent the brownies from sticking to the cookie cutter?
Make sure your brownies are completely cool before cutting, and dip your cookie cutter in hot water between cuts. Dry it off quickly with a paper towel, then press into the brownies. The slight warmth helps create cleaner cuts without the brownie sticking to the cutter.
- → Can I make these brownies ahead of time?
Yes! You can bake the brownies up to 2 days in advance and store them undecorated in an airtight container. Cut them into hearts and decorate them the day you plan to serve them for the freshest look. Once decorated, they'll stay fresh for 3-4 days at room temperature.
- → What if I don't have pink candy melts?
You can substitute with white chocolate chips melted with a drop or two of pink food coloring, or use any color candy melts you prefer. You could also use melted chocolate chips (semi-sweet or milk chocolate) for a more traditional look, or even make a simple powdered sugar glaze tinted with food coloring.
- → My brownies turned out cakey instead of fudgy – what went wrong?
The most common causes are overbaking or using too much flour. Make sure to measure your flour correctly (spoon it into the measuring cup and level it off) and remove the brownies from the oven when they still look slightly underdone in the center. They'll continue cooking as they cool. Also, avoid overmixing the batter once you add the flour.
- → Can I freeze these brownies?
Yes! Freeze the cut heart-shaped brownies without decoration in an airtight container or freezer bag for up to 3 months. Thaw them at room temperature, then decorate with the candy melts and sprinkles before serving. Don't freeze decorated brownies as the candy coating can become discolored or develop condensation.
Conclusion
These Heart Shaped Brownies are the ultimate way to show someone you care – or to simply treat yourself to something special. The rich, fudgy chocolate base paired with the sweet pink drizzle creates a perfect balance of flavors and textures. They're surprisingly easy to make, and the heart shape adds that extra touch of love that makes them perfect for Valentine's Day, anniversaries, or any occasion that calls for a little sweetness. Make a batch today and watch them disappear!