
 pin it
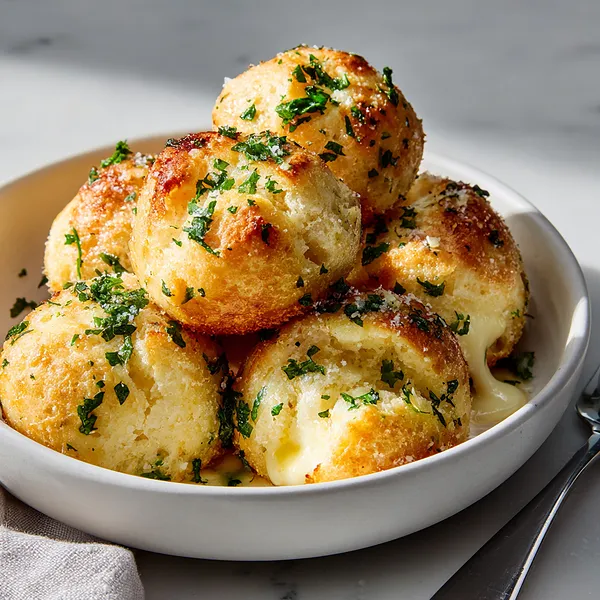
I first encountered cheese bombs at a small family-owned pizzeria where they served them as a specialty appetizer. From that very first bite, I was hooked on the concept of cheese-stuffed dough brushed with garlic butter. When I decided to recreate them at home, I experimented with different approaches until I landed on using refrigerated biscuit dough as the base – it's a game-changer that makes this recipe accessible to everyone. The key is getting that perfect balance: enough cheese to create that Instagram-worthy cheese pull, but not so much that they burst open during baking. I've made these countless times now, tweaking the garlic butter ratio until it was just right – enough to flavor every bite without being overwhelming. The addition of both cheddar and mozzarella gives you the best of both worlds: cheddar for sharp flavor and mozzarella for that stretchy, gooey texture everyone loves. What makes this recipe special to me is how it transforms simple, everyday ingredients into something that feels indulgent and special.
Why I love this recipe
What I truly love about this recipe is its incredible versatility and foolproof nature – it's virtually impossible to mess up, yet the results always impress. There's something magical about watching people's reactions when they take that first bite and discover the melted cheese center. These cheese bombs have become my secret weapon for any gathering because they work for any occasion, from casual family dinners to more festive celebrations. I appreciate how quick they come together when you're short on time, yet they look and taste like you spent hours in the kitchen. The aroma alone – that combination of butter, garlic, and baking cheese – creates an atmosphere of warmth and comfort that fills the entire house. Beyond the taste, I love that this recipe has created so many happy memories. Whether it's game nights with friends, holiday appetizers, or after-school snacks with my kids, these cheese bombs have been there, bringing smiles and satisfied sighs. They're proof that the best recipes don't have to be complicated to be absolutely delicious.
What You Need From Your Kitchen
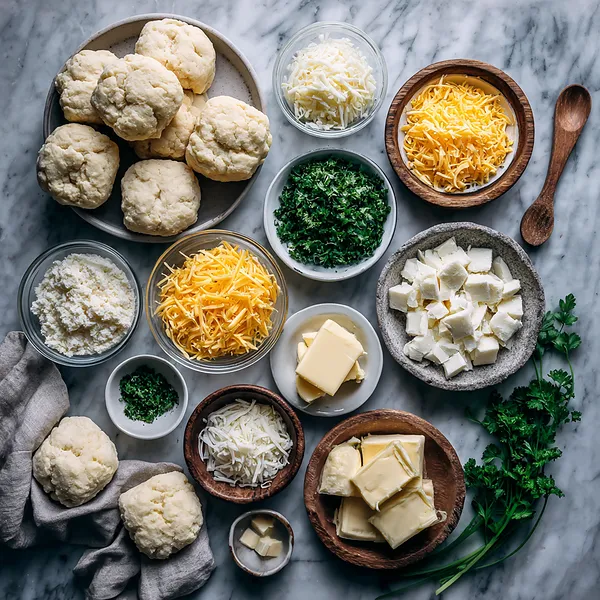
- Refrigerated biscuit dough: Separate and flatten each biscuit to create the base for stuffing
- Cheddar cheese: Shred and use as part of the filling for sharp, tangy flavor
- Mozzarella cheese: Cut into small cubes for the melty, gooey center
- Butter: Melt and combine with garlic for the signature coating
- Fresh garlic: Mince finely and mix into the melted butter
- Fresh parsley: Chop and use for garnish and mixing into butter
Let's Make These Together
- Prepare your workspace
- Start by preheating your oven to 375°F and lining a baking sheet with parchment paper. Open your biscuit dough and lay out all your ingredients so everything is within easy reach. This recipe moves quickly once you start, so having everything ready makes the process smooth and enjoyable.
- Stuff those biscuits
- Flatten each biscuit gently with your hands, creating a small disc. Place a mozzarella cube in the center along with a generous amount of shredded cheddar. The key here is to not overstuff, but to use enough cheese for that perfect gooey center. Carefully wrap the dough around the cheese, pinching and sealing all the edges completely. Roll each one gently to create a smooth ball and place seam-side down on your baking sheet.
- Bake to golden perfection
- Space your cheese bombs about 2 inches apart on the baking sheet – they'll puff up as they bake. Slide them into your preheated oven and bake for 15-20 minutes. You'll know they're ready when the tops are a beautiful golden brown and the kitchen smells absolutely amazing. While they bake, prepare your garlic butter by mixing melted butter with minced garlic, garlic powder, salt, and parsley.
- The finishing touch
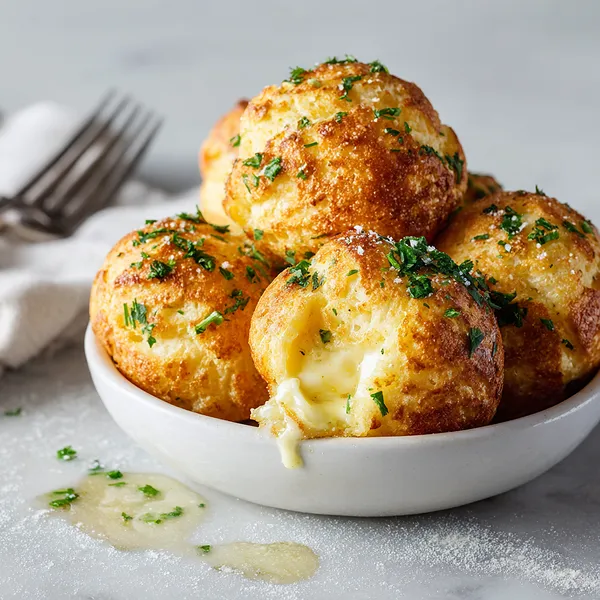
- The moment these come out of the oven is crucial – immediately brush them generously with that garlic butter mixture. The hot biscuits will soak up all that buttery, garlicky goodness. Sprinkle with fresh parsley, let them cool for just a minute or two, and serve while they're still warm with the cheese gloriously melted inside.
 pin it
Switch Things Up
The first time I made these cheese bombs was for a last-minute game night with friends. I was scrambling for something quick but impressive, and these saved the day completely. I remember pulling them out of the oven, that incredible garlic butter aroma filling my kitchen, and watching my friends' faces light up when they bit into them and discovered the molten cheese center. Now, every time I make these, I experiment a little – sometimes I add a pinch of red pepper flakes to the garlic butter for a subtle kick, or I'll mix different cheeses like pepper jack for extra flavor. My favorite variation is adding a tiny piece of cooked bacon inside with the cheese. The beauty of this recipe is its flexibility – you can make them your own while keeping that core of gooey, buttery perfection that makes everyone come back for seconds.
Perfect Pairings
These Garlic Butter Cheese Bombs pair beautifully with a variety of dishes and dips. Serve them alongside a rich marinara sauce for dipping, or a creamy ranch dressing for those who love that classic combination. They make an excellent appetizer before pasta night, complementing dishes like spaghetti marinara or fettuccine alfredo. For a complete meal experience, pair them with a fresh Caesar salad or a bowl of tomato soup. They're also fantastic alongside buffalo wings for game day, or served with a charcuterie board for a more sophisticated gathering. Don't forget a cold beverage – they're perfect with beer, sparkling water with lemon, or even a crisp white wine.
 pin it
Frequently Asked Questions
- → Can I make these ahead of time?
Yes! You can assemble the cheese bombs up to 4 hours ahead and keep them covered in the refrigerator. Just add a few extra minutes to the baking time if baking them straight from the fridge. The garlic butter should be prepared fresh and brushed on right after baking.
- → What if my cheese bombs open during baking?
This usually happens when the seams aren't sealed tightly enough. Make sure to pinch and press the dough edges firmly together, and place them seam-side down on the baking sheet. If one does open slightly, it's still delicious – just brush it with extra garlic butter!
- → Can I use different types of cheese?
Absolutely! Feel free to experiment with different cheese combinations. Pepper jack adds a nice kick, Swiss provides a milder flavor, and Colby works great too. Just make sure to use at least one good melting cheese like mozzarella for that gooey center.
- → How do I reheat leftovers?
The best way to reheat these is in the oven at 350°F for about 5-7 minutes. This helps maintain the crispy exterior while remelting the cheese inside. Avoid the microwave if possible, as it can make them soggy, though it will work in a pinch.
- → Can I freeze these cheese bombs?
Yes! You can freeze them either before or after baking. For unbaked bombs, freeze them on a baking sheet first, then transfer to a freezer bag. Bake from frozen, adding 5-10 minutes to the baking time. For baked bombs, freeze and reheat in the oven at 350°F until warmed through.
- → What dipping sauces work best?
These are delicious on their own, but popular dipping options include marinara sauce, ranch dressing, garlic aioli, or even a cheese sauce. Some people love them with pizza sauce or a spicy sriracha mayo for an extra kick.
Conclusion
These Epic Garlic Butter Cheese Bombs are the ultimate comfort food that brings joy to every gathering. The combination of melted cheese centers with that irresistible garlic butter coating creates an experience that's simply unforgettable. Whether you're hosting a party or just treating yourself on a cozy evening, these cheese bombs deliver restaurant-quality flavor with minimal effort. They're best served warm when the cheese is at its gooiest, and trust me, they never last long on the plate!