
 pin it
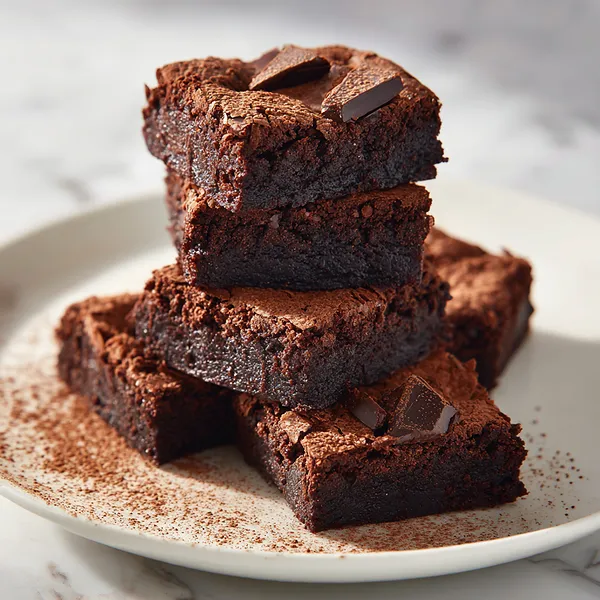
I first came across this style of ultra-fudgy brownie at a small bakery that used melted chocolate instead of just cocoa powder in the batter. The moment I took a bite, I understood immediately why they had a line out the door. These are not the cakey, airy kind of brownies — these are the dense, chewy, almost truffle-like squares that feel like a celebration every time you eat one. The top has that signature papery crackle that gives way to a deep, squidgy interior studded with pockets of melted chocolate. What makes this recipe special is the double chocolate approach — both cocoa powder and real chopped dark chocolate go into the batter, building layers of flavor that you simply cannot get any other way. I recreated this at home after weeks of testing, adjusting butter ratios and baking times until I landed on this version. Every time I make them, I am reminded of why this is one of the most beloved baked goods in the world.
Why I love this recipe
I love this recipe because it is completely foolproof and endlessly satisfying. There is no fancy technique required, no stand mixer needed — just a bowl, a whisk, and good quality chocolate. The result is something that looks and tastes like it came from a professional bakery, but takes under an hour from start to finish. I love how the chocolate chunks on top melt slightly in the oven and create these gorgeous glossy pools on the surface. I love how the edges get slightly crisp while the center stays gloriously fudgy. And I love how this recipe makes people light up when they take a bite. It is the kind of baking that reminds you why homemade will always win.
What You Need From Your Kitchen
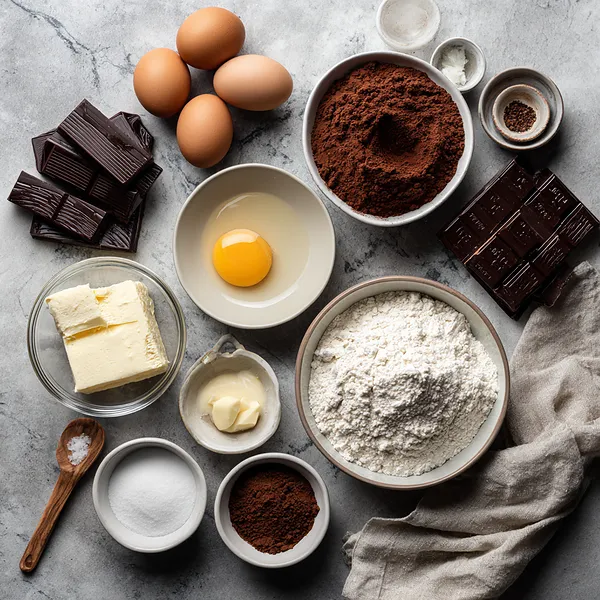
- Dark Chocolate (200g): Chop into small pieces and melt together with the butter to form the rich chocolate base of the batter.
- Unsalted Butter (1 cup): Melted with the chocolate to create a smooth, glossy and ultra-fudgy batter foundation.
- Granulated Sugar (1 cup): Sweetens the batter and helps create the signature crackly top on the finished brownies.
- Brown Sugar (1/2 cup): Adds moisture and a subtle caramel depth that makes these brownies extra chewy and rich.
- Eggs (3 large): Provide structure and richness; whisked in one at a time to build a smooth, emulsified batter.
- Cocoa Powder (1/2 cup): Intensifies the chocolate flavor alongside the melted chocolate for a deep, layered taste.
- Chocolate Chunks (1/2 cup, for topping): Scattered over the batter before baking to create melted chocolate pools on the brownie surface.
Let's Make These Together
- Melt butter and chocolate together
- In a medium saucepan over low heat, combine the unsalted butter and chopped dark chocolate. Stir continuously until both are fully melted and the mixture is completely smooth and glossy. Remove from heat and let it cool for about 5 minutes before proceeding — you don't want to scramble the eggs when you add them.
- Whisk in sugars and eggs
- Add both the granulated sugar and brown sugar to the warm chocolate mixture and whisk until well incorporated. Add the eggs one at a time, whisking well after each one, then stir in the vanilla extract. The mixture should look thick, smooth, and slightly shiny at this stage.
- Fold in the dry ingredients
- Sift the flour, cocoa powder, and salt directly into the bowl. Use a rubber spatula to gently fold everything together, being careful not to overmix. Stop folding the moment you no longer see dry streaks — overmixing develops gluten and will make your brownies cakey instead of fudgy.
- Pour, top, and bake
- Transfer the batter to your lined baking pan and smooth it into an even layer. Scatter the extra chocolate chunks all over the top, pressing them in gently. Slide the pan into the preheated oven and bake for 28–32 minutes until the edges are set but the center still looks slightly soft. A toothpick should come out with moist crumbs, not clean.
- Cool completely before slicing
- This is the hardest step — patience! Let the brownies cool in the pan for at least 20 minutes, then lift out using the parchment paper and place on a cutting board. Slice into 12 squares with a sharp knife, wiping the blade between cuts for clean edges. Stack them up and serve.
 pin it
Switch Things Up
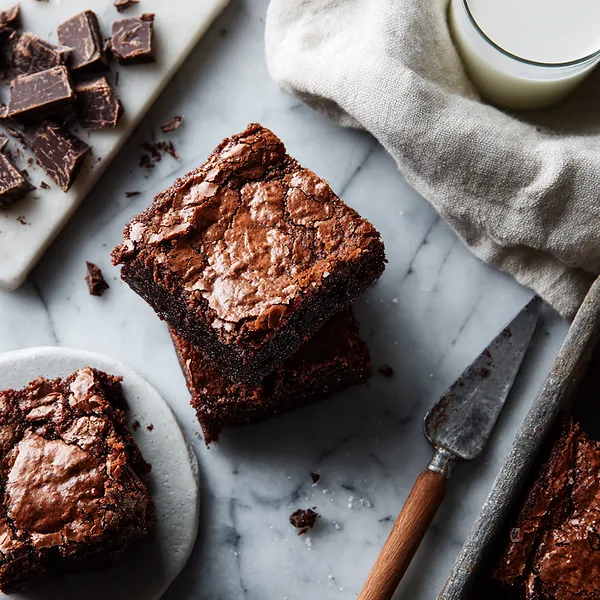
The first time I added actual melted chocolate bar into the batter instead of just cocoa powder, everything changed. I remember pulling the pan out of the oven and the whole kitchen smelled like a chocolate shop. I let them cool for about ten minutes — honestly the hardest part — before slicing. The edges were slightly crisp, the center was dense and almost molten-looking. I stacked two on a plate just like in the photo, pressed a couple extra chocolate chunks on top while they were still warm, and watched them slowly melt in. That batch disappeared within the hour. Now I always keep dark chocolate in the pantry specifically for this recipe.
Perfect Pairings
These fudgy brownies pair beautifully with a cold glass of whole milk or a hot espresso to balance out the richness. For a more indulgent experience, serve them warm alongside a scoop of vanilla bean ice cream or a dollop of lightly whipped cream. A handful of fresh raspberries or strawberries on the side adds a lovely tart contrast to all that deep chocolate intensity.
 pin it
Frequently Asked Questions
- → Can I use milk chocolate instead of dark chocolate?
You can, but the result will be noticeably sweeter and less intense. Dark chocolate with at least 60–70% cocoa gives you the deep, rich flavor that makes these brownies exceptional. If you use milk chocolate, consider reducing the added sugar slightly to balance the sweetness.
- → How do I know when the brownies are done baking?
The edges should look set and slightly pulling away from the pan sides, while the center may still look a little soft or underdone — that is perfectly fine. Insert a toothpick into the center: it should come out with moist, fudgy crumbs attached, not wet batter. If it comes out completely clean, they are overbaked.
- → Why did my brownies turn out cakey instead of fudgy?
The most common cause is overmixing the batter after adding the flour, or adding too much flour. Use the spoon-and-level method when measuring flour, and fold gently with a spatula just until no dry streaks remain. Overbaking also dries out brownies and makes them cakey.
- → Can I freeze these brownies?
Absolutely! Once fully cooled and sliced, wrap each brownie square individually in plastic wrap and place them in a freezer-safe bag or container. They freeze beautifully for up to 2 months. Thaw at room temperature for about 30 minutes before eating.
- → Do I have to use parchment paper?
It is strongly recommended. Parchment paper prevents sticking and makes it much easier to lift the entire brownie slab out of the pan in one piece for clean, even slicing. If you do not have parchment, grease the pan very thoroughly with butter and dust lightly with cocoa powder.
- → Can I add nuts or other mix-ins?
Definitely! Chopped walnuts, pecans, or hazelnuts fold in beautifully for added crunch. You could also swirl in a tablespoon of peanut butter or caramel sauce before baking for a more indulgent variation. Add mix-ins along with the chocolate chunks on top or stir gently into the batter.
Conclusion
These fudgy chocolate brownies are the kind of dessert that never lasts long on the table. Dense, rich, and packed with real chocolate flavor, they hit that perfect balance between cake and pure fudge. Whether you serve them warm with a scoop of vanilla ice cream or just straight from the pan, they deliver every single time. Make a batch, share them — or don't.