
 pin it
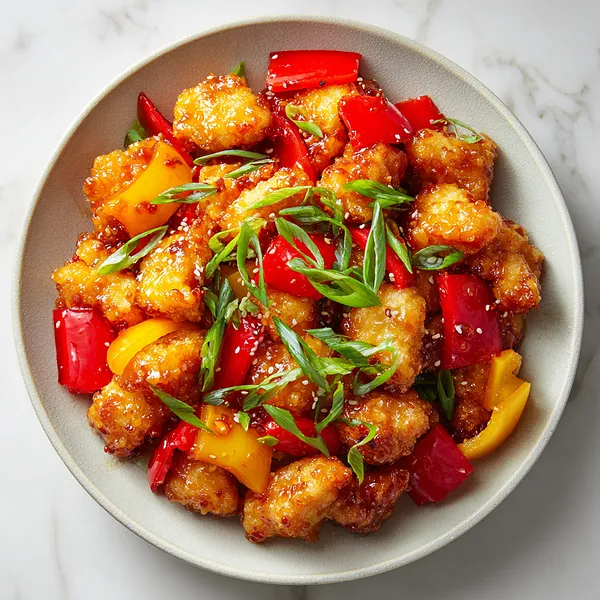
I still remember the first time I had proper Sweet and Sour Chicken — it was at a small Chinese restaurant in my neighborhood, and I was completely hooked from the very first bite. That combination of crispy chicken and that glossy, vibrant sauce with its perfect balance of sweet and tangy was unlike anything I had tasted before. For years I ordered it every single time I passed by that place. Then one day I decided I needed to figure out how to make it myself — but healthier. After testing and tweaking, I landed on this baked version that genuinely rivals any restaurant. The chicken gets this incredible golden crust from the cornstarch coating and the oven heat, and the homemade sauce is shockingly easy to pull together. Those colorful bell peppers and pineapple chunks add freshness and texture that make every forkful exciting. It's become one of those recipes I make on nights when I want something that feels special but doesn't take all evening.
Why I love this recipe
What I love most about this recipe is the pure, unbeatable satisfaction of biting into a piece of chicken that is simultaneously crispy on the outside and juicy on the inside — all without deep frying. The homemade sweet and sour sauce is so much better than anything from a jar or a takeout box. It's bright, tangy, and perfectly balanced with just the right amount of sweetness. I love how the colorful bell peppers and pineapple make it look like a celebration in a bowl — all those reds, yellows, and greens glistening under that sticky sauce. It's also incredibly versatile: I've made it for weeknight dinners, meal prepped it for the week, and served it at dinner parties where it always disappears first. Every time I make it, I'm reminded why cooking at home is so rewarding.
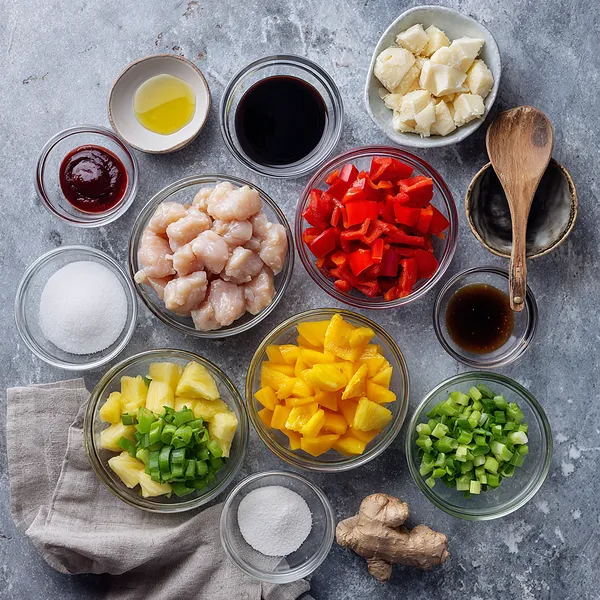
What You Need From Your Kitchen
- Chicken Breast: Cut into even 1-inch cubes to ensure uniform cooking and maximum sauce coverage
- Cornstarch: Coats the chicken to create a light, crispy crust when baked
- Bell Peppers (Red, Yellow, Green): Cut into chunks and baked in the sauce for color, crunch, and sweetness
- Pineapple Chunks: Add natural tropical sweetness that balances the tangy vinegar in the sauce
- Ketchup: Forms the base of the sweet and sour sauce alongside vinegar and sugar
- White Vinegar: Provides the signature tangy punch that defines sweet and sour flavor
- Red Onion: Cut into wedges and roasted for a mild sweetness and depth of flavor
- Garlic: Minced and whisked into the sauce for a savory aromatic backbone
Let's Make These Together
- Prep and coat the chicken
- Pat chicken breast cubes dry, season with salt and pepper, then dredge each piece in cornstarch followed by beaten egg. Arrange on a lined, greased baking sheet without overlapping and drizzle lightly with oil.
- Bake the chicken until golden
- Bake at 325°F for 15 minutes, flip the pieces, then bake another 10 minutes until the coating is set and lightly golden. The low initial temp helps the coating bond before the final high-heat phase.
- Whisk together the sauce
- In a bowl combine ketchup, white vinegar, sugar, soy sauce, and minced garlic. Whisk until smooth and the sugar is fully dissolved. Taste and adjust sweetness or tanginess to your liking.
- Combine everything and sauce it up
- Transfer baked chicken to a large baking dish. Add bell pepper chunks, red onion wedges, and pineapple. Pour the sauce over the top and toss gently so every piece is coated.
- Final high-heat bake
- Crank the oven to 400°F and bake for 15–20 minutes, stirring once at the halfway point. The sauce will reduce and caramelize, clinging to the chicken and vegetables in the most incredible way.
- Garnish and serve hot
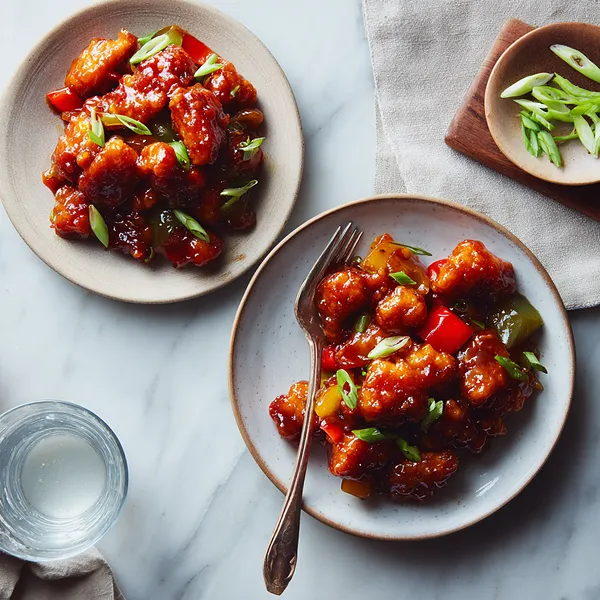
- Top with a generous handful of freshly sliced green onions and serve immediately over steamed jasmine rice. Watch it disappear from the table in minutes.
 pin it
Switch Things Up
The first time I made this, I swapped pineapple chunks for fresh mango pieces and honestly? It was a game changer. The mango gave the sauce this tropical sweetness that paired beautifully with the tangy vinegar kick. Another time I threw in some broccoli florets alongside the bell peppers — they soaked up all that glossy sauce and were absolutely divine. If you're feeling bold, add a teaspoon of chili flakes to the sauce for a sweet-spicy twist that'll have everyone reaching for seconds.
Perfect Pairings
Serve this Baked Sweet and Sour Chicken over a bed of steamed jasmine rice or fried rice to soak up all that incredible sauce. For a lighter option, cauliflower rice works beautifully. Add a side of steamed bok choy or stir-fried broccoli to round out the meal. A chilled glass of sparkling lemonade or iced green tea complements the tangy-sweet flavors perfectly. For a complete feast, start with spring rolls or wonton soup as an appetizer.
 pin it
Frequently Asked Questions
- → Can I use chicken thighs instead of chicken breast?
Absolutely! Boneless skinless chicken thighs work wonderfully in this recipe and actually stay even juicier than chicken breast. Just cut them into similar 1-inch pieces and follow the same coating and baking process.
- → Can I make this recipe gluten-free?
Yes! Use a certified gluten-free soy sauce or tamari instead of regular soy sauce, and ensure your cornstarch is certified gluten-free. The rest of the ingredients are naturally gluten-free.
- → Can I use canned pineapple instead of fresh?
Canned pineapple chunks work perfectly and are actually very convenient for this recipe. Just drain them well before adding to the baking dish so excess liquid does not thin out the sauce.
- → Why does my coating get soggy after adding the sauce?
This can happen if the sauce is added before the chicken coating is fully set. Make sure to complete both baking phases before adding the sauce, and do not skip the flip at the halfway point of the first bake.
- → Can I prepare any parts of this recipe ahead of time?
Yes! You can mix the sweet and sour sauce up to 3 days in advance and store it in the fridge. You can also coat the chicken pieces and refrigerate them for up to 4 hours before baking. This makes weeknight cooking much faster.
- → What can I serve with this besides rice?
This chicken is amazing over fried rice, lo mein noodles, or cauliflower rice for a lighter option. You can also serve it alongside steamed broccoli, bok choy, or a simple cucumber salad to round out the meal.
Conclusion
This Baked Sweet and Sour Chicken is the ultimate proof that homemade always wins. With its crispy baked coating, vibrant veggies, and that signature sticky-tangy sauce, every bite is pure joy. It's healthier than takeout, faster than delivery, and honestly — so much more satisfying when you made it yourself. Add it to your weekly rotation and watch it become a household favorite.